Getting inked is exhilarating. But what happens after you leave the studio? Your tattoo healing process unfolds in predictable stages and knowing what to expect makes all the difference between a stunning piece and a disaster.
This guide breaks down the tattoo healing process day by day, so you’ll navigate recovery like a pro.
Understanding the Tattoo Healing Process
Your fresh tattoo isn’t just art. It’s a controlled wound your body needs to repair. Understanding the healing stages helps you recognize what’s normal versus what demands attention.
Phases of Healing
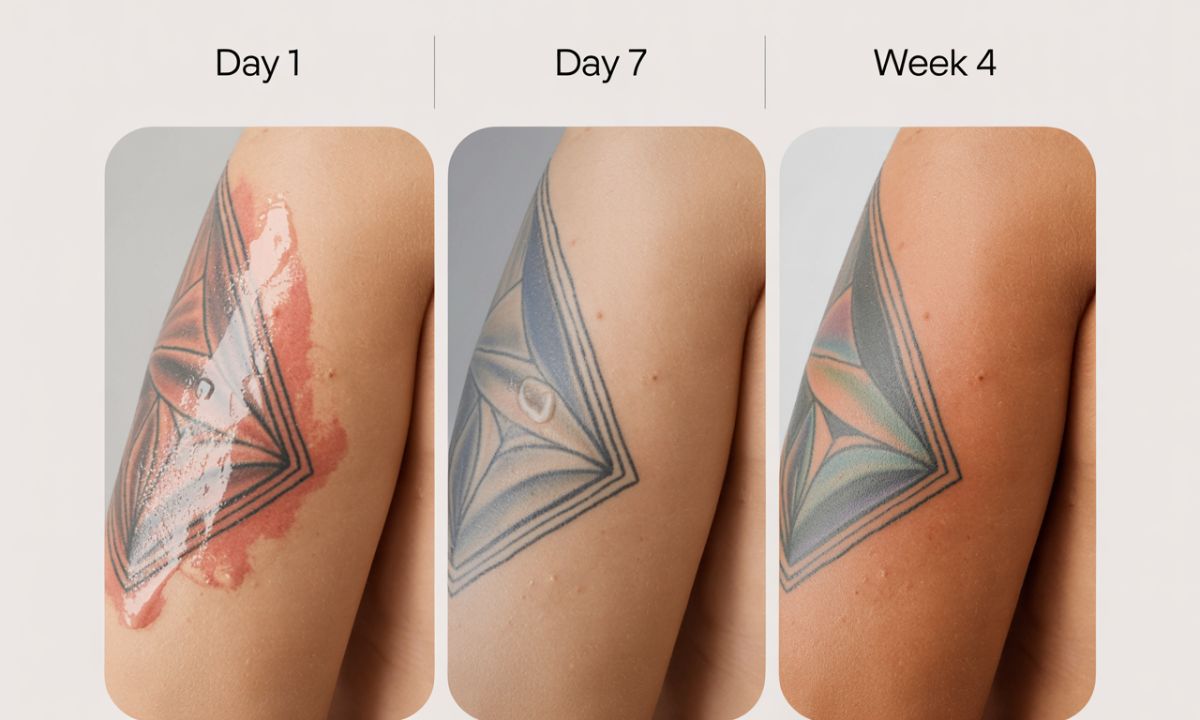
The tattoo recovery journey unfolds in three distinct phases:
Inflammatory Phase (Days 1-6): Your immune system springs into action immediately. Blood vessels constrict while plasma rushes to the wound site. Expect redness, swelling, and tenderness completely normal responses.
Proliferative Phase (Days 7-21): New skin cells form underneath the surface. This recovery cycle brings the infamous scabbing and peeling everyone dreads. Collagen production accelerates, rebuilding damaged tissue.
Maturation Phase (Weeks 3-6+): Your outer layers regenerate fully. Colors emerge vibrant again. Skin texture normalizes. The typical healing timeline runs 4-6 weeks for surface healing, though deeper layers continue regenerating for months.
What Influences Healing Time
Several factors affect your tattoo recovery time:
- Size and complexity: Larger pieces with dense shading take longer
- Placement matters: High-movement areas (elbows, knees) heal slower than static spots
- Your health: Age, immune strength, and existing conditions all play roles
- Aftercare compliance: Following tattoo aftercare steps precisely speeds recovery dramatically
Tattoo Healing Process Day by Day
Here’s your detailed roadmap through the healing breakdown.
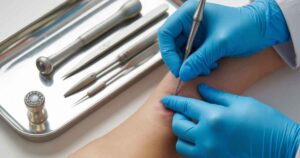
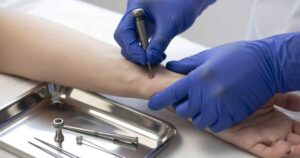
Day 1: Immediate Aftercare
Your tattoo looks incredible but feels hot and tender. The surrounding skin appears inflamed that’s your body protecting the fresh wound.
What’s happening: Platelets form protective barriers. Blood vessels constrict to minimize fluid loss.
Your artist’s bandage keeps bacteria away and prevents clothing friction. Most studios recommend removing it after 2-5 hours (some modern bandages stay on for days).
First cleaning is critical: Wash hands thoroughly first. Use lukewarm water and gentle antibacterial soap. Pat dry never rub. Apply thin moisturizer if your artist recommends it.
Days 2–3: Managing Plasma and Oozing
Expect clear or slightly colored fluid leaking from your tattoo. This plasma mixes with excess ink, creating colorful discharge. Don’t panic it’s not infection signs.
Your tattoo might look duller already. Fluid buildup creates temporary cloudiness.
Cleaning schedule: Wash 2-3 times daily with fragrance-free soap. Clean whenever significant buildup appears.
Sleep carefully: Use old sheets you don’t mind staining. Wear loose, breathable clothing that won’t rub or restrict movement.
Days 4–7: Scabbing and Initial Peeling
Thin, flaky scabs form across your tattooed area. Some spots scab heavier than others. Colors may look uneven or patchy underneath perfectly normal.
The cardinal rule: Never pick or scratch. Removing scabs prematurely damages ink placement permanently. Picking introduces bacterial risk tattoo exposure and causes scarring.
Managing intense itching: Slap gently instead of scratching. Apply fragrance-free moisturizer frequently. Cold compresses provide temporary relief.
Continue your aftercare routine religiously. Maintain twice-daily washing minimum. Keep skin hydrated without oversaturating.
Week 2: Peeling and Itchiness
Tattoo flaking intensifies dramatically. Large sheets of dead skin shed naturally looks alarming but indicates proper skin recovery phases progression.
Itchiness reaches maddening levels. This signals new skin forming underneath. Resist scratching at all costs.
Your tattoo’s appearance improves noticeably:
- Colors show through more clearly
- Skin texture feels normal again
- Inflammation decreases significantly
Reduce cleaning to once daily if appropriate. Continue moisturizing 2-3 times daily. Most surface healing completes by day 14, though deeper layers keep working for weeks.
Essential Daily Tattoo Aftercare Steps
Proper post tattoo care determines your tattoo’s final appearance. These aren’t optional suggestions they’re mandatory requirements.
Cleaning with Antibacterial Soap
Choose fragrance-free formulas only. Dial Gold, Dr. Bronner’s, or Cetaphil work excellently. Avoid harsh chemicals or additives that irritate healing skin.
Proper handwashing comes first. Dirty hands transfer bacteria to open wounds. Scrub 20 seconds minimum before touching anything.
Washing technique:
- Use lukewarm water never hot or cold
- Create gentle lather in clean hands
- Apply with light, circular motions
- Rinse thoroughly until soap disappears
- Never use washcloths, loofahs, or sponges
How to Pat Dry Properly
Patting instead of rubbing prevents dislodging scabs and irritating skin. Rubbing removes ink and damages healing flakes.
Use clean, lint-free towels exclusively. Paper towels work perfectly. Freshly laundered soft towels are acceptable too.
Air drying works excellently for hard-to-reach placements. Let your tattoo dry naturally 10-15 minutes.
Ensure complete dryness before applying moisturizer. Moisture trapped under lotion breeds bacteria.
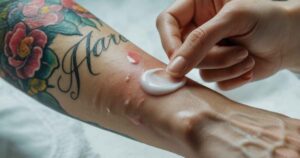
Choosing and Applying Moisturizer
Best lotions tattoo healing:
- Aquaphor for initial days
- Unscented Lubriderm, Aveeno, or CeraVe for later stages
- Specialized tattoo balms offer premium options
- Avoid petroleum jelly too occlusive
Application amount matters: Use thin layers that absorb within minutes. If skin looks shiny, you’ve used too much. Less is genuinely more with hydrating tattoo care.
Frequency changes throughout healing:
- 3-4 times daily during first week
- 2-3 times daily during second week
- As needed once surface healing completes
Avoid products containing: fragrance, alcohol, menthol, Neosporin, coconut oil (initially).
Protecting Your Tattoo During Healing
Protection extends beyond basic caring for tattoo maintenance. Environmental factors dramatically impact healing success.
Preventing Infection
Recognize warning symptoms immediately:
| Normal Healing | Infection Indicators |
| Mild tenderness | Pain that intensifies |
| Clear/light discharge | Yellow/green pus |
| Localized redness | Spreading redness |
| Slight warmth | Fever or chills |
Avoid infection by:
- Touching only when cleaning or moisturizing
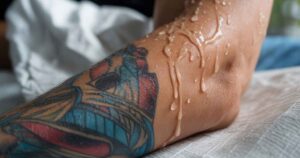
- Skipping submersion in pools, hot tubs, baths
- Staying away from gym equipment temporarily
- Changing bedding every 2-3 nights
Seek medical attention if symptoms worsen despite proper care or if streaks radiate from your tattoo.
Using Clean Sheets and Clothing
Fresh bedding prevents bacteria buildup on sleeping surfaces. Wash new sheets before use manufacturing chemicals irritate healing skin.
Choose breathable, natural fabrics. Cotton allows air circulation effectively. Avoid synthetics that trap moisture or tight clothing that creates friction.
Avoiding Sun Exposure
UV rays damage healing tattoos severely. Sunlight breaks down ink pigments permanently and causes excessive dryness.
Shield tattoo by wearing protective, breathable clothing outdoors. Stay in shade whenever possible initially.
Wait minimum 4-6 weeks before sun exposure. Even then, always apply SPF 50+ sunscreen. Don’t apply sunscreen until surface healing completes chemical formulas irritate open wounds.
Tips From Professional Tattoo Artists
Tattoo professionals have witnessed thousands of healing timeline variations. Their tattoo recommendations prevent most disasters.
Common Aftercare Mistakes
Over-moisturizing suffocates skin: Creates bacterial breeding grounds under excess product. Leads to prolonged healing and ink rejection. Remember: thin layers work best.
Using wrong products causes complications: Scented lotions inflame tissue. Antibiotic ointments trigger allergic reactions. Stick with tattoo specialist recommendations always.
Picking or scratching ruins tattoos permanently: Creates scarring that distorts design details. Removes ink, creating patchy appearance. Satisfaction isn’t worth permanent damage.
Inconsistent aftercare yields inconsistent results: Skipping cleaning invites unhealthy skin reactions. Irregular moisturizing causes excessive flaking. Commitment ensures optimal healing.
When to Contact Your Tattoo Artist
Your artist wants to hear about concerns. They’d rather address minor issues early than deal with major tattoo complications later.
Reach out if:
- Excessive fluid or bleeding beyond day 2 appears
- Unusual colors, smells, or discharge patterns develop
- Pain intensifies rather than subsides
- Healing seems abnormal compared to this guide
Before seeking medical care, consult them first. They distinguish normal from problematic tattoo progression. Will refer you to professionals if needed.
Questions about touch-ups should wait. Don’t assess final results until fully healed. Schedule consultations after 6-8 weeks minimum.
Frequently Asked Questions
How long does the complete tattoo healing process take?
Surface healing typically requires 2-4 weeks. Complete healing duration runs 4-6 months as deeper skin layers regenerate. Individual tattoo time frame varies based on size, placement, and personal health factors.
Is it normal for my tattoo to look faded during healing?
Absolutely. Dead skin cells create a cloudy, dull appearance during tattoo day stages. Colors return vibrant once healing flakes shed completely. Worry only if fading persists after full healing.
Can I exercise with a fresh tattoo?
Wait at least one week before intense workouts. Sweat introduces bacteria. Clothing friction damages healing tissue. Resume activities gradually once surface healing completes.
What should I do if my tattoo gets infected?
Contact your tattoo artist immediately if you notice spreading redness, pus, fever, or intensifying pain. They’ll assess severity and recommend next steps, including medical attention if necessary.
Why is my tattoo so itchy?
Itching tattoo sensations indicate new skin forming underneath. Biological healing processes trigger intense itchiness. Slap gently instead of scratching. Apply moisturizer frequently for relief.
How should a tattoo look on each day of the healing process?
Day 1: Bright, raised, tender. Days 2-3: Duller, oozing plasma. Week 1: Scabbing begins.
What is the typical healing timeline for a small tattoo?
Small tattoos heal surface-level within two to three weeks typically.
Which days are generally the most painful during tattoo healing?
Days 1-3 bring most pain; discomfort decreases steadily after that.
What are common changes to expect in the tattoo appearance during the first week of healing?
Expect dulling colors, plasma discharge, scab formation, and slight ink loss.
How can I tell if my tattoo is healing properly as the days go by?
Gradual pain reduction, normal scabbing, decreasing redness indicate proper healing progression.
What are the signs of improper healing in the initial days after getting a tattoo?
Spreading redness, green/yellow pus, increasing pain, fever signal improper healing issues.
Conclusion
The tattoo healing process day by day requires patience and diligence. Most people experience completely normal, uneventful recovery when following proper post ink aftercare protocols.
Your commitment to tattoo aftercare process determines final appearance. Trust the process it looks worse before better. Complete healing duration takes 4-6 weeks minimum for surface layers, though deeper regeneration continues for months.
Following these tattoo care guide principles ensures vibrant, lasting results. Your new tattoo represents a permanent body art investment. Protect that investment with proper daily healing care.
When in doubt, contact your tattoo artist immediately. They’re your best resource throughout the tattoo recovery guide journey.